MLE-Toolbox Overview
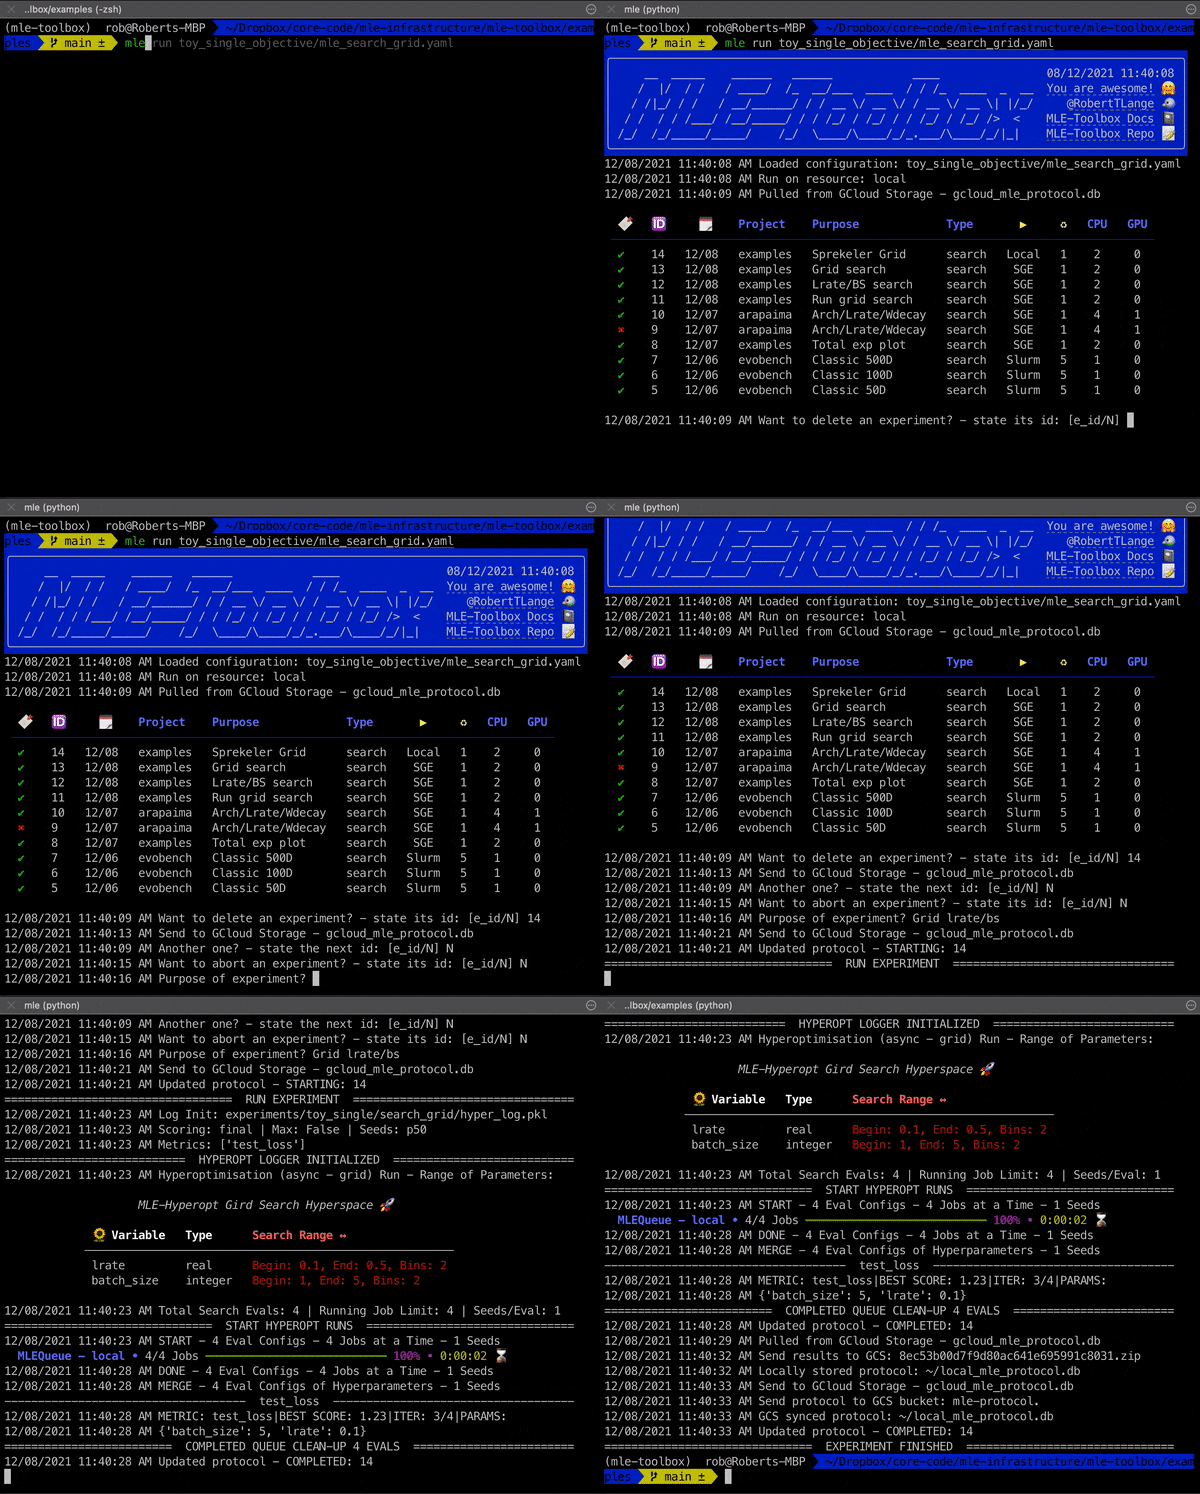
ML researchers need to coordinate different types of experiments on separate remote resources. The Machine Learning Experiment (MLE)-Toolbox is designed to facilitate the workflow by providing a simple interface, standardized logging, many common ML experiment types (multi-seed/configurations, grid-searches and hyperparameter optimization pipelines). You can run experiments on your local machine, high-performance compute clusters (Slurm and Sun Grid Engine) as well as on cloud VMs (GCP). The results are archived (locally/GCS bucket) and can easily be retrieved or automatically summarized/reported.
What Does The mle-toolbox Provide? 🧑🔧
- API for launching jobs on cluster/cloud computing platforms (Slurm, GridEngine, GCP).
- Common machine learning research experiment setups:
- Launching and collecting multiple random seeds in parallel/batches or async.
- Hyperparameter searches: Random, Grid, SMBO, PBT and Nevergrad.
- Pre- and post-processing pipelines for data preparation/result visualization.
- Automated report generation for hyperparameter search experiments.
- Storage/retrieval of results and database in Google Cloud Storage Bucket.
- Resource monitoring with dashboard visualization.

The 4 Step mle-toolbox Cooking Recipe 🍲
- Follow the instructions below to install the
mle-toolboxand set up your credentials/configuration. - Read the docs explaining the pillars of the toolbox & the experiment meta-configuration job
.yamlfiles . - Learn more about the individual infrastructure subpackages with the dedicated tutorial.
- Check out the examples 📄 to get started: Single Objective Optimization, Multi Objective Optimization.
- Run your own experiments using the template files, project and
mle run.
Installation ⏳
If you want to use the toolbox on your local machine follow the instructions locally. Otherwise do so on your respective cluster resource (Slurm/SGE). A PyPI installation is available via:
pip install mle-toolbox
Alternatively, you can clone this repository and afterwards 'manually' install it:
git clone https://github.com/mle-infrastructure/mle-toolbox.git
cd mle-toolbox
pip install -e .
Setting Up Your Toolbox Configuration 🧑🎨
By default the toolbox will support local runs without any GCS storage of your experiments. If you want to integrate the mle-toolbox with your SGE/Slurm clusters, you have to provide additional data. There 2 ways to do so:
- After installation type
mle init. This will walk you through all configuration steps in your CLI and save your configuration in~/mle_config.toml. - Manually edit the
config_template.tomltemplate. Move/rename the template to your home directory viamv config_template.toml ~/mle_config.toml.
The configuration procedure consists of 4 optional steps, which depend on your needs:
- Set whether to store all results & your database locally or remote in a GCS bucket.
- Add SGE and/or Slurm credentials & cluster-specific details (headnode, partitions, proxy server, etc.).
- Add the GCP project, GCS bucket name and database filename to store your results.
- Add credentials for a slack bot integration that notifies you about the state of your experiments.
The Core Toolbox Subcommands 🌱
You are now ready to dive deeper into the specifics of experiment configuration and can start running your first experiments from the cluster (or locally on your machine) with the following commands:
| Command | Description | |
|---|---|---|
| 🚀 | mle run |
Start up an experiment (multi-config/seeds, search). |
| 🖥️ | mle monitor |
Monitor resource utilisation (mle-monitor wrapper). |
| 📥 | mle retrieve |
Retrieve experiment result from GCS/cluster. |
| 💌 | mle report |
Create an experiment report with figures. |
| ⏳ | mle init |
Setup of credentials & toolbox settings. |
| 🔄 | mle sync |
Extract all GCS-stored results to your local drive. |
| 🗂 | mle project |
Initialize a new project by cloning mle-project. |
| 📝 | mle protocol |
List a summary of the most recent experiments. |
You can find more documentation for each subcommand here.
